Before you begin, you will need to decide on the type of 3D printer you are going to purchase. Whether you’re buying a desktop model or a large industrial model, you need to determine the material you’ll be using. You can either create the part from a CAD file or a 3D scan. Alternatively, you can use a library of existing designs. Whatever method you choose, you’ll need to translate your design into coordinates, and then know what material you’ll be using.
Connecting the Filament
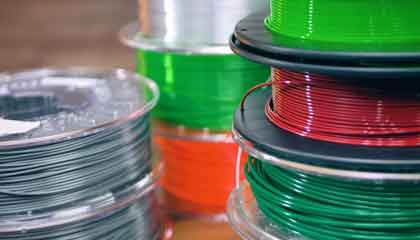
Once you have your 3D printer, you’ll need to set up your workspace. The first step is to connect your main voltage wire to the main part of your 3D printer. You’ll need this wire to transfer the transformed current from the power source. A reliable YouTube tutorial will show you how to connect the filament. If you don’t know what filament is, you can find a tester spool from a local store or order some from a seller.
Prepare Your 3D Printer
After you have your workspace set up, it’s time to prepare your 3D printer. You can download slicing software to get started with your commercial 3d printer. Many models allow you to load filament directly into the extruder. For smaller printers, however, you will need to manually push the filament through the extruder. The filament must be inserted through a hole in the front of the extruder until you feel resistance in the inner tube leading towards the nozzle.
Control Your 3D Printer
After installing the printer software, you can start creating 3D prints. The first step is to import the G-code file to your 3D printer. Then, you need to create a layer chart. Then, you need to select your print settings and the type of plastic filament. You can also use the slicing tool provided with the printer. Regardless of which method you choose, you’ll want to be able to control the 3D printer and the process of building a 3D print.
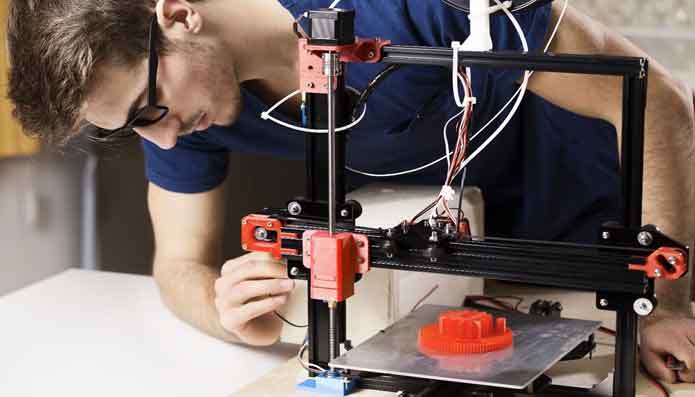
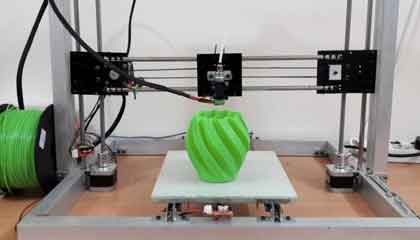
Assembly Is Easy
Once you’ve downloaded the software, it’s time to assemble the 3D printer. Once the printer is assembled, you’ll need to feed it the filament. In some cases, filament is sent as a test spool. A spool can take minutes to print a small model or a whole object. You’ll need to wait for the model to be printed before connecting it to the computer.
3D Printing Software
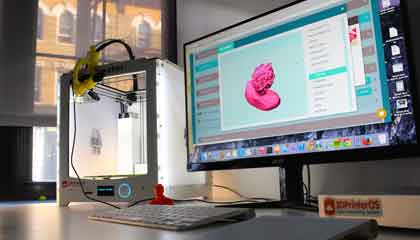
Once you’ve downloaded the software, you’ll need to translate your 3D model into instructions for the printer. Sliced files are created by cutting the model horizontally. Then, you’ll import the parts into software designed for your particular printer. Afterwards, you’ll have to send the G-code file to the printer. Then, the software will slice your 3D models.
Conclusion
Before using your 3D printer, you must understand the process of slicing the model and printing it. You must know that the filament is the material used to build your 3D prints. You can find a tutorial for your printer online. Most manufacturers send you a tester spool of filament, which you can test out by assembling the parts. Then, you can decide what you want to print.